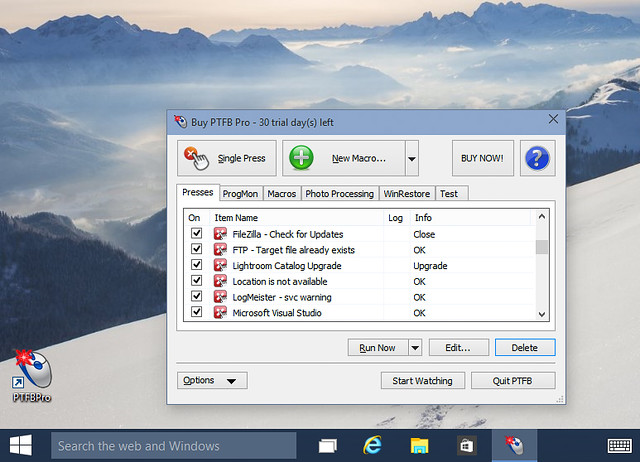
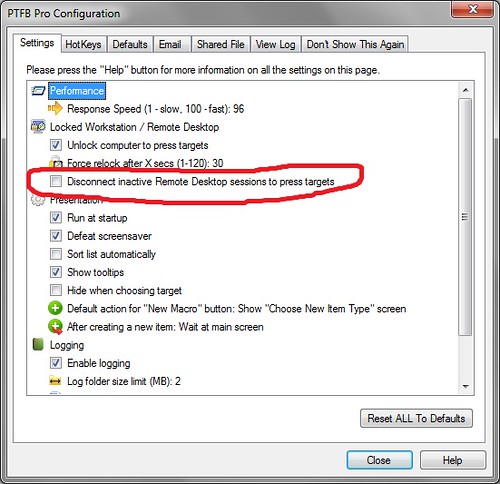
For some time now PTFB Pro has had a special setting in Options -> Configure called “Unlock computer to press targets”. When enabled, its purpose is to briefly bypass the locked workstation screen on Windows to deal with any buttons that have to be pressed (or macros that have to be run) on the desktop. As soon as any necessary work is done, the workstation is automatically re-locked, and under normal circumstances this happens much faster than a human could react. For those who needed it, this option worked beautifully on all versions of Windows.. until Windows 10 came along, with its new lock screen.
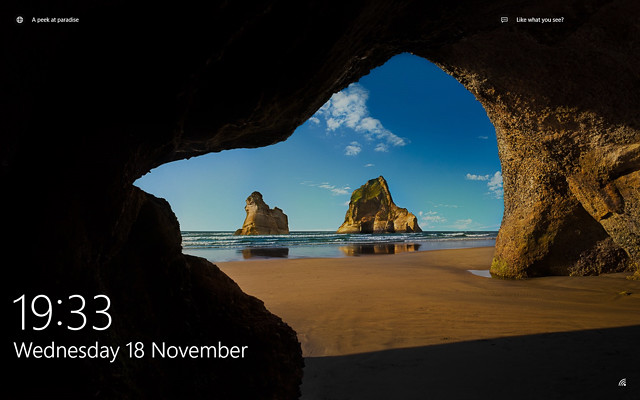
Well, after finally taking the plunge and installing Windows 10 TH2 on my main development system, I’m happy to report that I’ve found a way to get the “Unlock computer to press targets” option to work even on the new OS. All you have to do is make a small registry edit to disable the new Windows 10 lock screen, as described below. To be honest, if you’re like me then you’ll probably want to do this anyway just because the lock screen places an extra mouse press between you and logging back in to your desktop.
Here’s what to do, but before you go ahead, here’s a warning: don’t do this unless you’re experienced at registry editing! The Windows registry is critical to the operation of your computer and if you make a mess in there, you’ll likely have to restore or reinstall your operating system to fix it. Still want to go ahead? OK, here’s the step-by-step:
- Open regedit
- Navigate to: HKEY_LOCAL_MACHINE\SOFTWARE\Policies\Microsoft\Windows
- Look for a subkey entitled “Personalization”. If it’s there, enter it, otherwise create it. And then enter it.
- Add a new DWORD (32-bit) value called “NoLockScreen” and set its value to 1
That’s it, you can close Regedit now because you’re done. This change takes immediate effect; you can test it straight away by tapping Windows key + L. If you go direct to the login screen, you’ve done it right. After this, PTFB’s “Unlock computer to press targets” will work just fine (so long as you’ve enabled it and also chose the option to include the PTFB Pro workstation service when you last installed PTFB).